Showing posts with label Pork. Show all posts

Friday, January 6, 2017

Make-Ahead, Freezable Carnitas

I have no new recipe for you today - just a helpful hint regarding an old recipe.  A few years ago, I had posted a recipe for my favorite carnitas.  It is still a regular meal in our house, since I can get pork shoulder cheap (and, well, it's just amazingly delicious).  And since they're large cuts of meat, I make a lot and freeze the leftovers.  I was recently able to get pork shoulder picnic roast for 69 cents/lb.  I bought almost 16 lbs and paid just under $11.  I fed 11 people (7 adults, 4 kids) dinner with some leftovers, plus bagged 3 more meals for the freezer.  You can get the recipe here.  And you can do a lot more than just make tacos or burritos with this meat.  We also like to make taco salad, quesadillas, nachos, tostadas, omelettes, etc.  This week we made burritos and filled them with carnitas, homemade pico de gallo, avocados, cheese, lime rice, lettuce, sour cream, and hot sauce.

Once the meat is done cooking in the crockpot (and before it's put in the oven), I divide it up into meal-sized portions and place into gallon zip-top bags.  I also divide up the reserved seasoning into snack size zip top bags.  Then I take a seasoning bag, lay it on top of the sealed gallon bag, roll them up together, and put a piece of tape at the top to hold it all in place.  This way the meat and the seasoning are together and I don't have to worry about losing the seasoning (or forgetting where I put it :)).  Before I fill the bags, I write what's in them, the date, and cooking instructions. When I want to eat it, I pull a bag from the freezer and defrost.  I heat the meat, then place it on a large pan (I use a jellyroll pan) and sprinkle with the seasoning.  It's placed it in a preheated 400 degree oven for 10-15 minutes or until crispy.  This makes for a quick and easy meal.  In fact, before I had my last baby, I made sure I had some of this in my freezer for after baby came.

Make-ahead, freezable carnitas
Seasoning packet and meat ready to be rolled up.

make-ahead, freezable, carnitas
The seasoning packet is rolled up inside of this and
the whole thing is secured with a piece of tape.

make-ahead, freezable, carnitas
The finished product, ready for the freezer.


Friday, April 6, 2012

Meatball Subs


Monday I posted a super delicious recipe for meatballs and I suggested serving it over pasta.  However, we were actually able to get more than two meals out of our meatballs, but instead of feeding my family the same exact meal for a week straight, I changed it up a bit by making meatball subs!  They're really easy and quite tasty!

Meatball Subs
French rolls
Meatballs in marinara
Shredded mozzarella
Shredded parmesan

If you're making this with leftover meatballs and sauce, reheat them on the stove or in the microwave.  Meanwhile, hollow out the rolls (this allows room for the meatballs and keeps them from rolling out of your sandwich), then toast the rolls under the broiler or in a toaster oven.  Place desired amount of meatballs, sauce, mozzarella, and parmesan on each roll, then place back under the broiler or into the toaster oven to melt the cheeses.  Remove and enjoy!

The hollowed out roll.

Monday, April 2, 2012

Meatballs


I've mentioned before that I'm not a big fan of ground meat, which means I don't usually like meatballs.  Regardless of the fact that I don't like ground meat, I don't want to deprive my family of things they enjoy, like hamburgers and meatballs.  I decided to try a recipe that a friend of mine from junior high and high school posted on her blog a while back.  Can I just say that these are so yummy?!  And I don't even like meatballs!  You can find her original recipe here, but I've made just a few changes to it to accommodate the ingredients I had on hand.

Meatballs
2 slices stale bread (I used whole wheat)
1/3 cup cold water
1 lb ground beef
1 lb ground pork
3/4 cup parmesan cheese
1/4 cup chopped flat-leaf parsley
2 tsp kosher salt
1/4 cup grated onion
2-3 cloves garlic, minced
1 egg
Ground black pepper, to taste
Olive oil

If your bread isn't quite stale (dry) enough, place in a 250 degree oven until dry.  Place staled bread in a food processor and pulse until you have fine bread crumbs.  Add 1/3 cup cold water to rehydrate bread crumbs; set aside.

In a large bowl, combine beef, pork, parmesan, parsley, salt, onion, garlic, and egg.  Mix to combine (using your hands works best).  Season with pepper.  At this point, you can take a little chunk and cook it in a frying pan to taste your seasonings, adjusting if needed.


Gently form the meat mixture into balls slightly larger than golf balls.  You want to be careful not to pack them too tightly, as this will result in tough meatballs.  Refrigerate for at least an hour or up to 24 hours.


Heat 2 tablespoons olive oil in a large nonstick skillet over medium-high heat.  Add as many meatballs as you can fit without overcrowding your pan.  Cook, turning frequently, until all sides are browned; about 6 minutes.  Transfer meatballs to a plate.  Drain oil from skillet and wipe it down; repeat until all meatballs have been browned.  Drain oil and wipe skillet, then return all meatballs to skillet, along with marinara sauce of choice.  Nicole gives her recipe here, but I chose to used jarred marinara (yes, I cheated).  Bring sauce to a boil, reduce heat, cover and simmer, swirling the pan occasionally until the meatballs are cooked through and the cheese in them begins to melt.  Serve over pasta.


We got several meals out of these.  I'll show you what else I made with them another time!


Wednesday, March 28, 2012

Kimiko's Carnitas and our Easter Menu


In honor of Easter coming up next week, I've decided to post my carnitas recipe.  Yes, I realize that carnitas and Easter don't really go together for most people; however, the family is going to be together and we wanted to do something easy that didn't take away from family time.  As I got to thinking about what we would have, the idea of spending hours making a meal that would take (probably) minutes to eat is ridiculous!  Especially when we're with out-of-town family.  So this year, we decided to have carnitas, since we'd be able to throw them in the slow cooker before church and have them done when we're ready to eat.  In addition, we're also planning on having homemade refried beans, guacamole, brown rice, chips, resurrection rolls, and some other dessert (probably cheesecake - to be determined).  Much of the prep work will be able to be done a day or two before and we can just reheat on Sunday afternoon, leaving more time for enjoying time with each other (not to mention, less clean-up too)!

And yes, I realize that Sumiko posted a recipe for carnitas a few months ago.  In posting another recipe for carnitas, I'm not saying that her recipe isn't good.  I'm simply saying that I also have a recipe that I use and that we like a lot!!!  I actually got it from my sister-in-law and it has become a favorite in our house! Don't skip the last step in the oven - that really makes this meal!

Oh, and a note on the meat.  I recommend using a fatty cut, like a shoulder roast or a pork butt.  The fat will cook down and will result in a super tender, juicy, and flavorful meal.  Cuts like loin roasts aren't really fatty enough and won't give you the tenderness of the flavor you're looking for.  I must confess that when I made it and took pictures, my pork butt wasn't large enough, so I added a little chunk of loin roast.  Since it didn't have the fat, I made sure to put it on the bottom, under the pork butt, so it would still cook in the fats from the other pork.  When I shredded it, you could definitely tell a huge difference in flavor between the two cuts, but I mixed it all up, making it harder to tell the difference.  Additionally, to make this meal more cost-effective, I wait until pork butt goes on sale for under $2/lb (which is quite often where I live).

The pork butt - notice all the marbling.

Pork loin is good for things like pork chops,
but not the best choice for carnitas.  Notice how
different this looks than the pork butt.

Kimiko's Carnitas
4 lb pork shoulder or pork butt roast
3 tsp salt
3 tsp cumin
1 1/2 tsp dried oregano
1 tsp ground coriander
1 tsp paprika
1 tsp chili powder
1/4 tsp cinnamon (optional)
4 bay leaves
4 cloves garlic, minced
1 cup water
1 Tbsp chicken bouillon
1 onion, diced

In a small bowl, combine salt, cumin, oregano, coriander, paprika, chili powder, and cinnamon if using.  Set aside.


Place chopped onions, water, bouillon, and bay leaves in the bottom of your slow cooker.

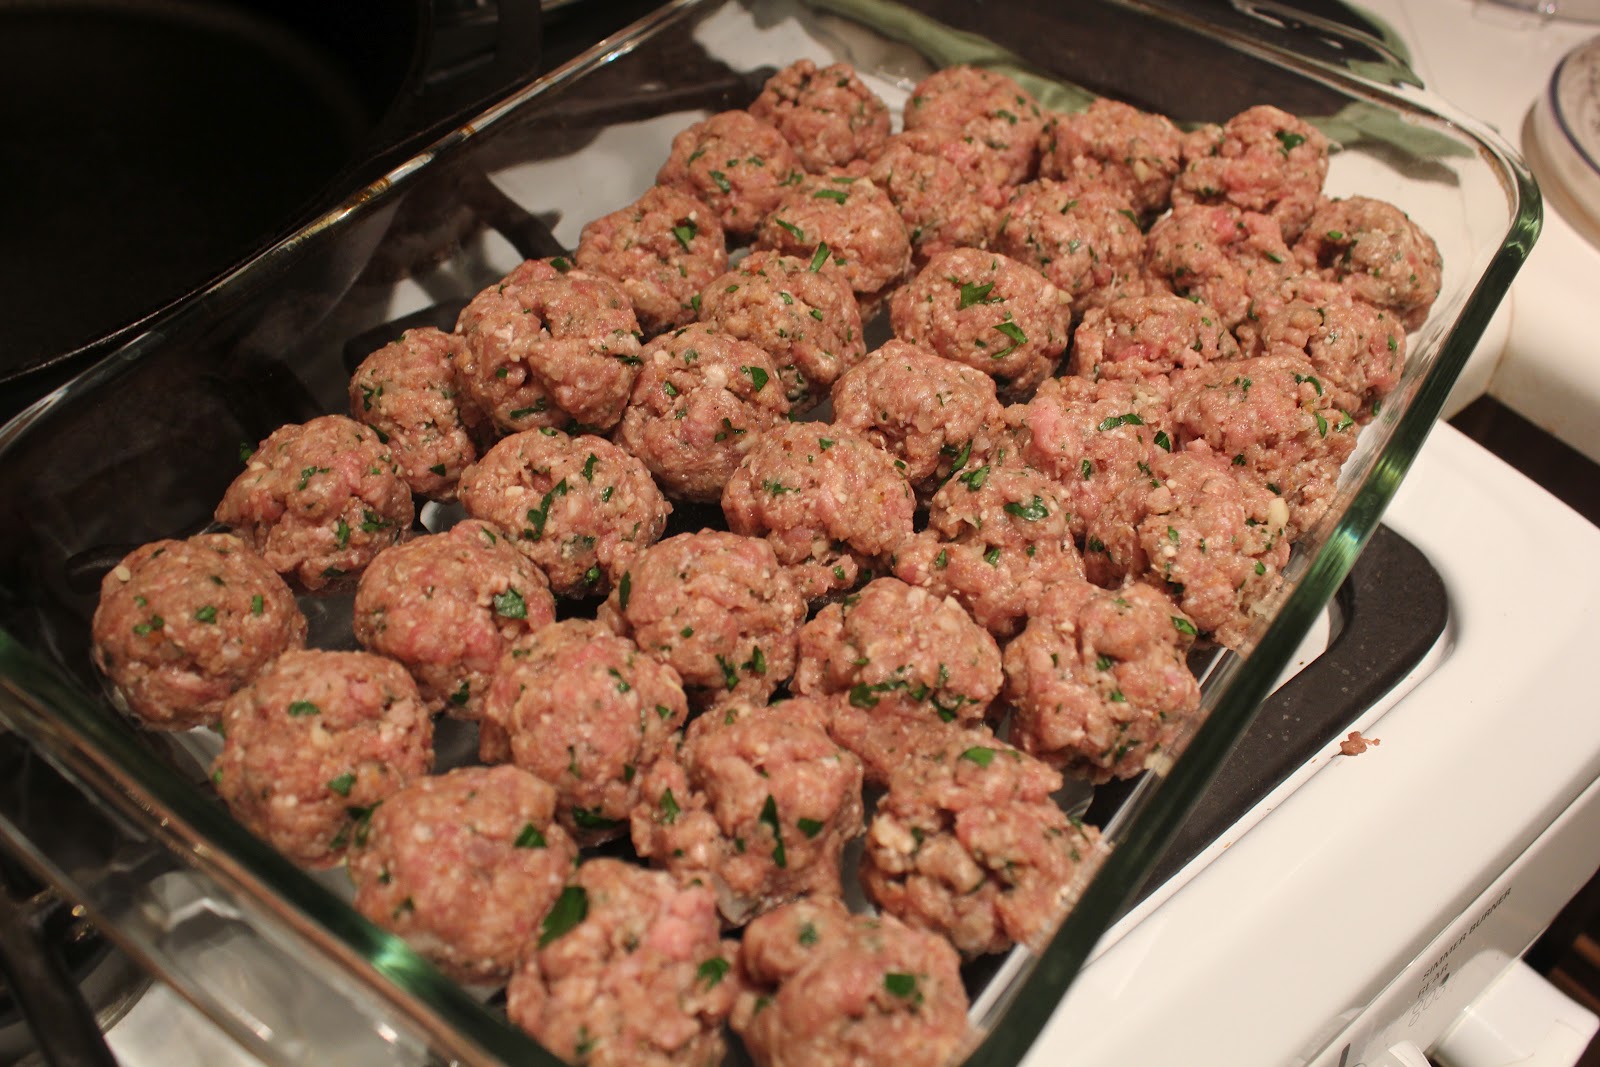
Prepare the roast by trimming it of most of the excess fat on the outside of the roast (there is still plenty of fat throughout the meat itself).  Cut the roast into 4 or 5 large chunks.  Rub garlic onto meat, making sure each piece is adequately covered.  Reserve 1 Tbsp of your dry spice mixture and set aside for later.  Rub the remaining dry spice mixture over meat, covering all surface areas; place meat in slow cooker.

I love the natural light!  I don't photograph food using natural light too often, due to the fact that my kitchen is no where near a window.  However, I had a little extra time to spare this day and kept running over to the sliding glass door in the living room with my food to take pictures.  I'm pretty sure my 3-year-old thinks I'm crazy - and she's probably right!

Cook on low for 8-10 hours.  


Mmmm...perfectly tender!
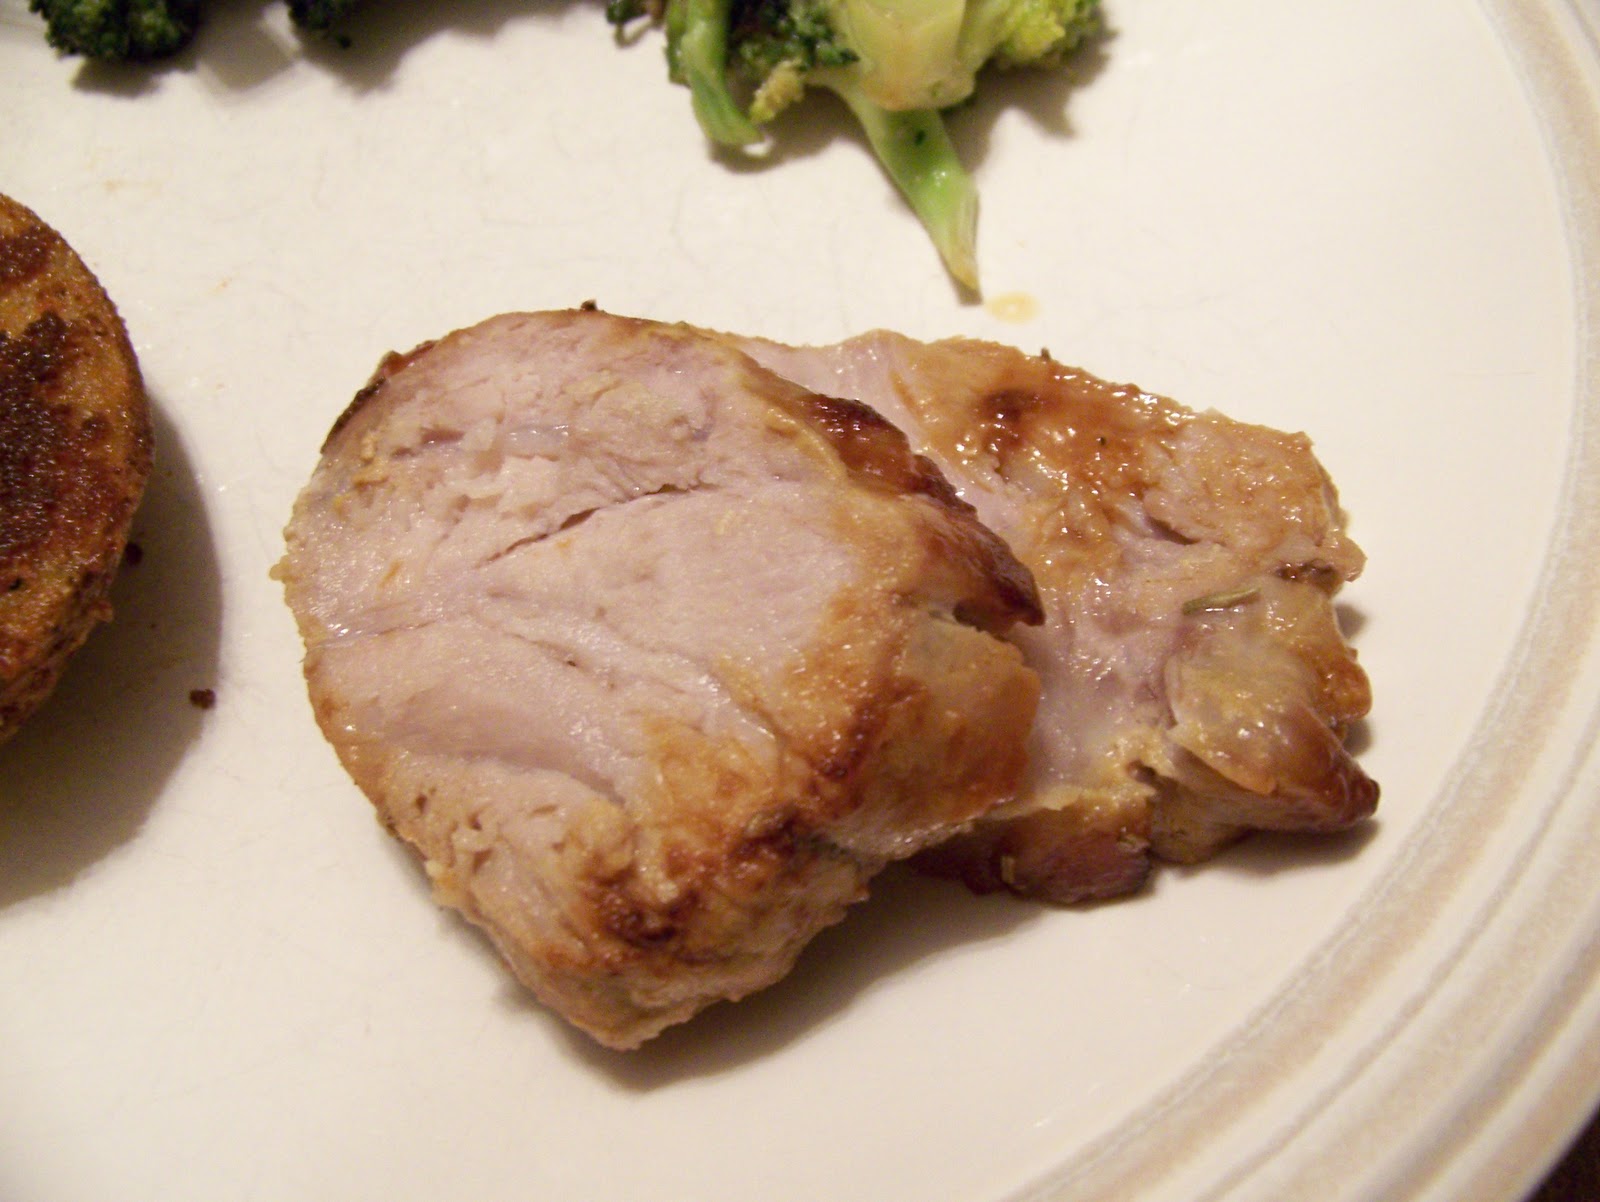
Preheat oven to 400 degrees.  Shred cooked meat and spread it evenly over a jelly roll pan.  Pour some of the juices from the slow cooker over the meat, then sprinkle it with the reserved spice mixture.  Bake 10-15 minutes, or until the juices have evaporated and the meat gets a little crispy.  DO NOT SKIP THIS STEP!  This takes it from delicious to absolutely AMAZING!!  

Before crisping in the oven...

...after crisping.  Yum!
Serve with tortillas, and your choice of toppings, like rice, beans (pinto, refried, or black), lettuce, sour cream (or Greek yogurt), salsa, avocado or guacamole, and cheese (we like Monterey Jack).  Keep in mind that incorporating rice and/or beans will reduce the cost of your meal, since you'll be using less meat!

I apologize that I have no picture of this as the final product (ie on a tortilla along with the other toppings), but I had been smelling this amazing meal cook ALL DAY LONG and I was hungry and neglected to snap a photo.  On a side note, instead of putting this in a tortilla, you can make a salad or a rice bowl out of it.  Just put it on some lettuce and rice, along with whatever other options you choose and enjoy!

Thursday, March 22, 2012

Honey Mustard Pork Chops


Honey and mustard just go so well together.  Blackened chicken salad with homemade honey mustard dressing?  Yummy!!  And honey mustard pork roast?  Delicious!  So last week when Safeway had pork chops BOGO, making them about $1.25 per pound, I just had to cook up some honey mustard pork chops.


The sauce is pretty much the same one that I used for the honey mustard pork roast.  In fact, you could use the same one.  The main difference is the omission of rosemary.  I was going for plain and simple.


The key here is to sear the chops on the stove, brush them with the sauce, then finish them off in the oven.  To sear them properly, you’ll want your stove really hot—mine needs to be on high or close to it.  You want to brown them high and fast so as not to cook them too much in the middle.  If they are too near to being done when you move them to the oven, they will get over cooked and become tough before the sauce is cooked.  And be sure not to crowd the pan.  If you put too many chops in the pan, they will steam instead of sear.

Feel free to use bone-in or boneless pork chops.  I used bone-in because that’s what was on sale.  A side-note about boneless pork loin chops:  it’s often cheaper to buy the loin whole and cut it into chops than to buy the loin chops—it’s the exact same thing.  And most major grocery stores with a full-service meat department will cut the loin into chops for you at no extra cost.  Why people buy pork loin chops is beyond me (unless they’re on sale for cheaper than the loin, but that’s rarely the case).

Honey Mustard Pork Chops
1-2 Tbsp. vegetable oil
Pork chops
¼ c. Dijon mustard
1-2 Tbsp. honey (or more if desired)
1 tsp. lemon juice
Salt to taste
Pepper to taste

Preheat iron skillet (or other oven-proof skillet) over medium-high to high heat.  Preheat oven to 375°.  When skillet is hot, add vegetable oil and let it get hot.  Place pork chops in pan, being careful to avoid overcrowding.  Brown on both sides, about 5 minutes per side.


I was in a hurry and didn't wait for my pan to get hot enough.
There should be more searing and the temp shouldn't
be that high yet.

Meanwhile, mix together mustard, honey, lemon juice, salt, and pepper, tasting and adjusting as desired.


When chops are seared, spread honey mustard sauce over top.  Place in hot oven until internal temperature reaches 155°.


Remove from oven and let carry-over heat cook chops to 160°.

I served mine with leftover potatoes and cabbage
from St. Patrick's Day.  Yummy!

Friday, January 20, 2012

Honey Mustard Pork Roast


When I saw this pork sirloin roast on sale for $1.99 per pound, I just had to get it!  A couple months ago I tried a new pork roast recipe on Robbie and he loved it, so I thought I’d treat him by making it again.  This is one of those recipes that is a hybrid of a bunch of different recipes.
                                     

The first time I made this, I used pork loin instead of sirloin.  Either will work.  The main difference will be the cooking time.  Because a loin roast is generally skinnier than a sirloin roast, it will cook a bit faster.  To avoid over- or undercooking, be sure to rely on your instant-read thermometer rather than the clock.

I am usually in the seer-a-pork-roast-before-roasting-it camp, but I wanted to make this recipe super easy and super fast so I skipped that step.  Go ahead and sear it if you want to, keeping in mind it will decrease oven time.

To make this dish even easier, forego the mixing bowl and spoon—two less dishes to clean!  I usually just pour, squirt, and sprinkle the flavorings and seasonings on top and mix it all together as I’m coating the roast.  Of course, this results in a less homogenous coating, but it works and it’s fast.

The key to releasing the flavor of the rosemary is to crush it between your fingers.  You will almost immediately smell the difference between uncrushed and crushed rosemary.

The five-minute rest at the end of the recipe is a must—do not skip this step!  Resting allows time for the internal temperature to rise five more degrees to 160°, the target temperature for pork.  It also lets the meat absorb some of the juices.  If you cut it right away, a lot of the juices will run right out.

Honey-Mustard Pork Roast
3-4 lb. boneless pork loin or sirloin roast
3 Tbsp. Dijon mustard
1 ½ Tbsp. honey
½ Tbsp. lemon juice
½ Tbsp. dried rosemary, crushed
Quite a few dashes pepper


Preheat oven to 325°.  Lightly oil small, shallow roasting pan.  Place roast in pan; set aside.  In small bowl, combine mustard, honey, lemon juice, rosemary, and pepper; pour over roast.


Using hands or basting brush, coat entire roast, including bottom.


Place fattiest side up.  Roast uncovered until reaches 155° on instant-read thermometer, about 1½-1¾ hours.  Remove from oven, cover with foil, let rest 5 minutes.


Temperature had already risen one degree from
oven to counter.

Perfect!


Remove from pan, slice across grain.


Wednesday, January 18, 2012

Spicy Pork Chili


Shortly after I got married, I was desperate for recipes that my husband would enjoy.  While visiting his sister, I asked if I could copy some of her recipes, figuring that if his sister likes it, he will most likely like it too.  She gave me some really delicious recipes, including this one.  In fact, as I write this, I have some simmering on the stove and the smell is driving me crazy!  I have made a few adjustments to make it more cost-effective, but it still tastes pretty much the same as the original version.

Some reminders regarding cost-effectiveness.  Wait until the pork goes on sale.  I often find it under $2/lb and freeze it.  Also, instead of buying canned beans, buy dried and make them yourself!  It's so easy to make them in the slow cooker!  Finally, serving this over rice not only tastes good, but makes it more cost effective as well.  Rice adds bulk for pennies!  It also tames some of the spice, for those who don't particularly like spicy.

This recipe calls for jalapenos.  When handling jalapenos, I always wear rubber gloves, because the pepper contains capsaicin (which is what is used in pepper spray) and will burn if you touch your face or eyes with your hands after handling the pepper.


Most of the heat is contained in the seeds and membranes.

I removed most of the seeds and the membrane.

I made sure to wear gloves as I finely chopped the jalapenos.
Spicy Pork Chili
1 1/2 lbs pork loin, cubed
1 large onion, diced
2 celery ribs, diced
1 Tbsp butter
1 Tbsp olive oil
3 1/2 cups great northern beans
4 1/2 cups water
1 1/2 Tbsp chicken bouillon
2 jalapeno peppers, seeded and chopped
2 tsp chili powder
1 tsp pepper
1/4-1/8 tsp cayenne
1/2 tsp cumin
2 cloves garlic, minced
1/4 tsp dried parsley
1/4 tsp hot sauce
1 cup shredded Monterey jack cheese

In a large pot, heat the butter and olive oil over medium-high heat.  Add the pork, onions, and celery; cook until pork is browned.


Stir in beans, water, bouillon, jalapenos, chili powder, pepper, cayenne, cumin, garlic, salt, parsley, and hot sauce.  To be honest, I'm not sure if 1/4 tsp of hot sauce really does much - I mean, I probably use more than that when I eat a burrito - but we'll throw it in anyway!  Also, a reminder on the cayenne.  You can always add more, but you can't take any out.  Start out with a smaller amount and add more after tasting.

Our hot sauce of choice!


Bring to a boil; reduce heat, cover and simmer for 1 1/2 hours.  Remove lid and simmer for an additional 30-40 minutes, or until chili reaches the desired consistency.  Remove from heat; add cheese and stir until melted.  Serve over steamed rice if desired (this is how I like to eat it) and with a side of cornbread.


I'm going to go out on a limb here and say that this can be made in the slow cooker.  I haven't tried it yet, so I can't vouch for it, but I'm guessing it will work.  Simply brown the pork and saute the onions and celery as written in the original recipe.  Add all remaining ingredients (except cheese) to the slow cooker and cook on low for 6 hours (I'm guess on the time here).  About 30 minutes before it's done, add the cheese and allow it to melt.  Next time I make this, I'll try this method and let you know how it works!  Or, if any of you try it, please let us know!
Related Posts with Thumbnails