Wednesday, July 13, 2011

My Favorite Recipe Sources


I have a confession to make.  I don’t follow recipes.  Unless I’m baking, which requires a lot more precision.  But when I’m cooking, the same dish never really comes out the same twice.  And I hardly ever measure.  When coming up with dishes to blog, I have to make the dish, sometimes multiple times, measuring and tweaking to get it into written form.

I have two general methods for cooking.  First is completely winging it.  This works really well for me when I’m preparing dishes and working with flavors with which I’m really familiar.  My second method involves looking up recipes for the same dish in multiple sources, taking general mental notes, and then winging it.  This is how I cook dishes or use flavors that are new to me.

So despite not following recipes, I definitely do use recipes.  I thought I’d share my favorite sources so you can look for your own inspiration.

As far as cookbooks go, I have way more than any sane person should own.  I am currently working on weeding them out.  But there are two main ones that I think every home should have.  The first is The Joy of Cooking.  More like a cooking encyclopedia than a cookbook, it contains just about anything the average household cook might want to know.  This is my number one go-to book when looking for recipes.  It also includes conversion tables, menus, table etiquette, nutrition charts, substitutions, general information about ingredients, food storage, and how to select fresh groceries.


There are two editions of The Joy of Cooking.  My parents own the original edition.  It’s fun to browse because it has some very interesting information in it.  Need to know how to skin and prepare a squirrel?  Refer to the game section.  I have the new, updated edition.  Sadly, squirrel is no longer on the menu.


I also recommend that every kitchen have a general cookbook such as a Better Homes and Gardens New Cookbook or Betty Crocker Cookbook.  I have the BHG one; I believe Kimiko has the Betty Crocker.  These cookbooks contain a lot of different types of recipes but aren’t as in depth.


In addition to cookbooks, I also reference a lot of recipes on the internet.  Sure, you can Google any recipe you want, but I find this a bit overwhelming and only do so after I’ve exhausted my other resources.

The first website I visit for recipes is foodnetwork.com.  I like finding recipes here because I know the cooking styles of many of the chefs behind the recipes.  I know which chefs I like and which ones I don’t.  My favorites are Alton Brown and Tyler Florence.

I also use allrecipes.com on occasion.  I don’t like this site as much because you never know what you are going to get.  It’s a site where anyone can post any recipes they want, and then other people can rate and review them.  I have found some great recipes there, but you have to learn to weed out the bad ones.


One major problem that I have with allrecipes is the way users tend to rate recipes.  Some people will give a recipe five stars but then say they made a bunch of alterations when they were making it.  They deviated from the original recipe so who knows if it deserved the five stars.  On the other end of the spectrum, Kimiko once saw someone give a recipe one star and then admit that they forgot to add the baking soda.  If you are going to use allrecipe or other user-contribution sites, be sure to read the comments of others who have reviewed it and discern whether or not it deserved the rating it received.

On both foodnetwork.com and allrecipes.com, you can create a recipe box to save your favorite recipes.  This is a great way to keep track of them without having to print them out and have papers to clutter your cookbook shelf.

And of course, there’s always neartonothing.com.  Yes, I go to my own blog to get recipes.  If I want something to turn out the same way it did before, I follow what I did when I blogged it.  That’s also how I get Kimiko’s recipes so I don’t have to bother her to e-mail them to me.  And who knows.  Maybe there will be a Near to Nothing cookbook in the future.  Anyone interested?

Monday, July 11, 2011

Blackened Chicken Salad with Honey Mustard Dressing


Last month, I posted a recipe for a delicious honey mustard dressing and I mentioned that I'd post an entree salad on which we use that dressing.  It's a blackened chicken salad, and my husband absolutely loves this recipe!  It's especially great in the summer, because it requires very little cooking.  In fact, the chicken can be made ahead of time (when it's cooler; either the night before or the morning of) and refrigerated until ready to be used.

Blackened Chicken Salad with Honey Mustard Dressing
1 cup water
3 Tbsp lime juice
2 Tbsp soy sauce
1/2 Tbsp Worcestershire sauce
2 boneless, skinless chicken breast halves
1/2 Tbsp salt
1 tsp sugar
1 tsp paprika
1 tsp onion powder
1 1/2 tsp pepper
1/2 tsp garlic powder
1/4 tsp cayenne
2 Tbsp butter
Romaine lettuce, chopped (iceberg works too)
Carrots, sliced
Cheese (cheddar, mozzarella, or a combo of both)
Honey Mustard Dressing

In a bowl or container with a lid, combine water, lime juice, soy sauce, and Worcestershire sauce.  Place chicken in mixture; marinate in refrigerator for 4 hours to overnight.

I used one HUGE chicken breast.  As you can see, one side is much thicker than the other, so to get even cooking (and to expedite it a bit), I cut it into smaller chunks.

I could have pounded it, but chose this method instead.


In a small bowl, combine salt, sugar, paprika, onion powder, pepper, garlic powder, and cayenne.  Remove chicken from marinade and coat with dry mixture.


Heat a skillet over medium heat.  Melt butter in skillet and saute chicken until cooked through, turning once.  While chicken is sauteeing, make salad by tossing lettuce, carrots, and cheese.  Toss with dressing or leave dry, allowing each individual to add dressing to their salad.


When chicken is done, remove from heat and allow to rest for about 5 minutes.  Slice chicken into thin strips and serve on mixed salad.


Friday, July 8, 2011

Slow Cooker Taco Meat


It’s been hot here lately.  And we try not to use our air conditioner.  Needless to say, I haven’t been wanting to do much cooking involving the oven or the stove.  Out comes the slow cooker.

A while ago I found a great sale on cross rib roasts and bought too many.  So last week I took one out of my freezer and let it thaw in the fridge for a few days.  Normally, I would sear the outside of the roast to develop the flavor (like this), but this time I didn’t want to stand in front of the hot stove.  So I literally dumped everything in the slow cooker and let it go.  It turned out great!

This recipe makes a lot of meat, but it freezes well.  After serving it the first night, I ended up with three containers of leftovers.  I froze two and used the third to make chili the next day.

Slow Cooker Taco Meat
1 chuck roast or cross rib roast
½ Tbsp. beef bouillon
½ c. taco seasoning
1 can (28 oz.) diced tomatoes

Place roast in slow cooker.  Sprinkle with bouillon and taco seasoning.


Pour tomatoes over top.  Cook on low for 8 to 10 hours or high for 4 to 6.


Remove meat from crock.  Shred with two forks and return to juices in slow cooker.  Stir to mix thoroughly.


This versatile meat can be used for burritos, tacos, enchilada casserolequesadillas, or taco salad.


Wednesday, July 6, 2011

Super Chocolatey Trifle


A couple weeks ago, I posted a recipe for the most amazing homemade dark chocolate brownies and mentioned I'd post a recipe in which I used those brownies.  Let me tell you that this dessert is so yummy but rich, so make sure you have a cup of milk or coffee on hand!

While we would call it a trifle, by definition, it really isn't a trifle.  According to Wikipedia, a trifle is a "dessert dish made from thick (or often solidified) custard, fruit, sponge cake, fruit juice or gelatin, and whipped cream.  These ingredients are usually arranged in layers with fruit and sponge on the bottom, and custard and cream on top."  Notice that there's no mention of chocolate or brownies in that definition.  However, I don't care what it's called, because it's delicious whatever you call it!

Super Chocolatey Trifle
1 batch dark chocolate brownies or 1 box brownies, baked according to package directions and cooled
3.9 oz pkg instant chocolate pudding mix
1/2 cup water
14 oz can sweetened condensed milk
20 oz frozen whipped topping (e.g. Cool Whip), thawed
Chocolate candy bar (Heath Bar, Reeses Peanut Butter Cups, etc.), chopped

Cut brownies into 1-inch cubes; set aside.


In a large bowl, combine pudding mix, sweetened condensed milk, and water.  Mix until smooth.  Carefully fold in approximately 8 oz. whipped topping until no streaks remain.

Before the whipped topping.

After the whipped topping.

In a trifle bowl or glass mixing bowl, place half of the brownies in a layer.  Top with half of the pudding mixture, spreading evenly over the top of the brownies.  Then add a layer of half of the remaining whipped topping; sprinkle with half of the chopped chocolate candy.  Repeat all layers, ending with the whipped topping and chocolate candy bar.  Refrigerate for at least 8 hours.

Single layer of brownies

I softened my whipped topping in the microwave for a little too long, so it was a bit runny, but still turned out.


I only used 1 Heat Bar, but I wish I had used at least 2.

Layers

I waited until shortly before serving to add the Heath Bar to the top, as the moisture in the cream can cause it to dissolve.

Not the most beautiful thing on a plate, but who cares what it looks like when it tastes so good!

Monday, July 4, 2011

Lemonade Stands: Teaching Kids about Food and Business


This weekend Keanna ran her first lemonade stand!!  While a few friends, my mom, and I held a yard sale, Keanna tempted our shoppers with ice-cold fresh-squeezed lemonade.  Fortunately for her, it was in the mid-90's that day!

In honor of her first entrepreneurial success, I thought I'd revisit my lemonade recipe that I posted last summer and include some tips for running a lemonade stand.

Lemonade
1½ c. lemon juice
6 c. water
1¼-1⅓ c. sugar

Combine all ingredients in a 2-quart pitcher and mix until sugar is dissolved.  Serve chilled or iced.  Yield 2 quarts.  Total cost (if you have a lemon tree):  almost FREE!!


Tips for running a successful lemonade stand:


  • When deciding how much to charge, don't just take cost and profit into consideration.  Think about the mathematical ability of the child running the stand.  Keanna is still trying to grasp money so we charged $0.50 for a 16-oz. cup of lemonade.  This way she only had to deal in multiples of 50's, or two quarters.  For some extra money lessons, I took some of our yard sale money and traded her coins for some bills so she would see that coins add up to bills.
  • Have your child help make the lemonade and take the opportunity to teach about fractions.
  • Put the lemonade in a glass or clear plastic pitcher so people can see it.  More people will be willing to buy it if they can see it first.
  • To increase your profit margin, you can put ice in the cups when serving the lemonade.  We didn't do this.
  • Have your child make the sign--it's cute and will get peoples' attention.  Be sure to help them make it large enough for people to see and read easily.
  • To keep your lemonade cold without watering it down, use lemonade ice cubes instead of regular ice. A few days before, start freezing lemonade in ice trays.  Once frozen solid, transfer the cubes to gallon zip-top bags until they are needed.


For tips on juicing lemons and making lemonade, see the original post here.  Also try making strawberry lemonade and blended lemonade, both posts available here.

Friday, July 1, 2011

Colored Sugar and Patriotic Strawberries


The 4th of July is coming up and if you're looking for some festive food ideas, here's one you can try!  It involves colored sugar, which you can buy, but you'd be paying a lot for it.  The good news: it's easy to make at home and pretty much costs the same as sugar.  You can use food coloring or food dye, although the food dye does give the sugar a more vibrant shade than the food coloring. Colored sugar can be used to decorate cookies or other confections.


Colored Sugar
Sugar
Food coloring or food dye

In a bowl, place desired amount of sugar (I used 1/4 cup of sugar in each bowl).  Add food coloring a couple drops at a time until desired shade is reached.  After each addition, mix the sugar with a spoon, pressing the sugar against the sides of the bowl using the back of the spoon to get out clumps and to evenly spread the coloring.  Alternatively, use desired amount of food dye instead of the food coloring.


Colored sugar using food coloring.

Food dye.

The sugar will clump up, but will go away if you press the sugar against the sides of the bowl using the back of the spoon.

Colored sugar using the dye.

Patriotic Strawberries
Strawberries
White chocolate chips
Shortening
Blue colored sugar (see recipe above)
Blue food coloring

Wash strawberries; dry completely.  Line a platter or cookie sheet with wax or parchment paper.

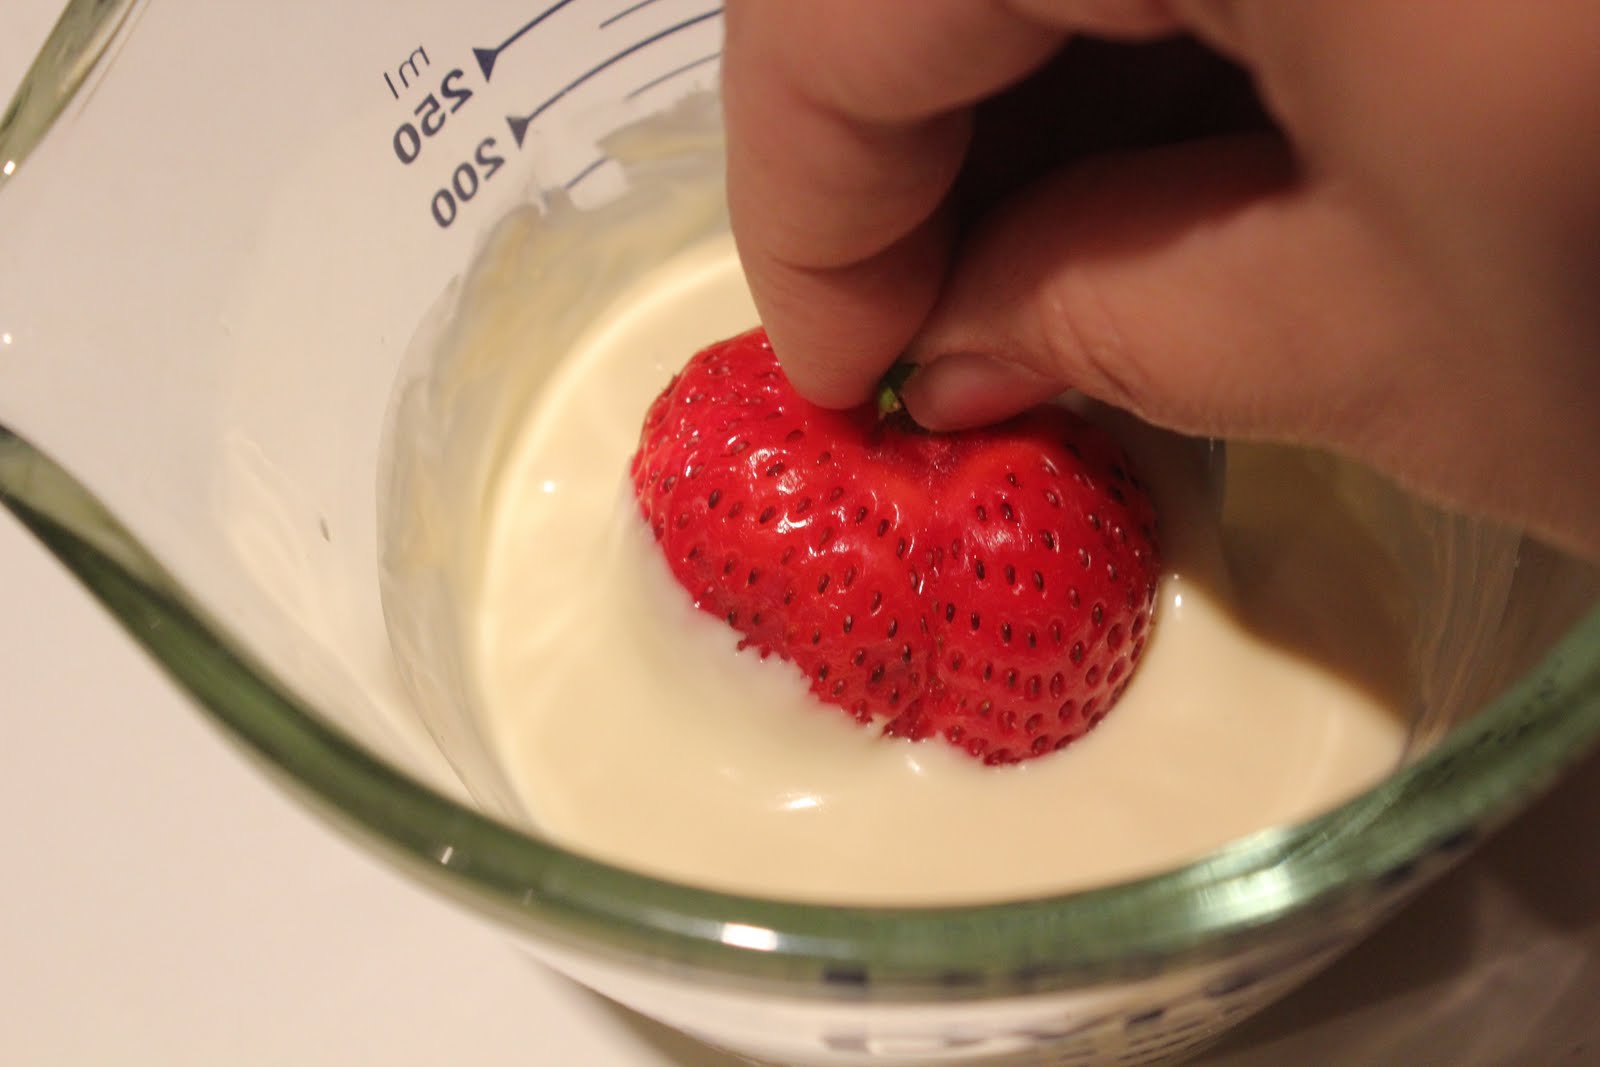
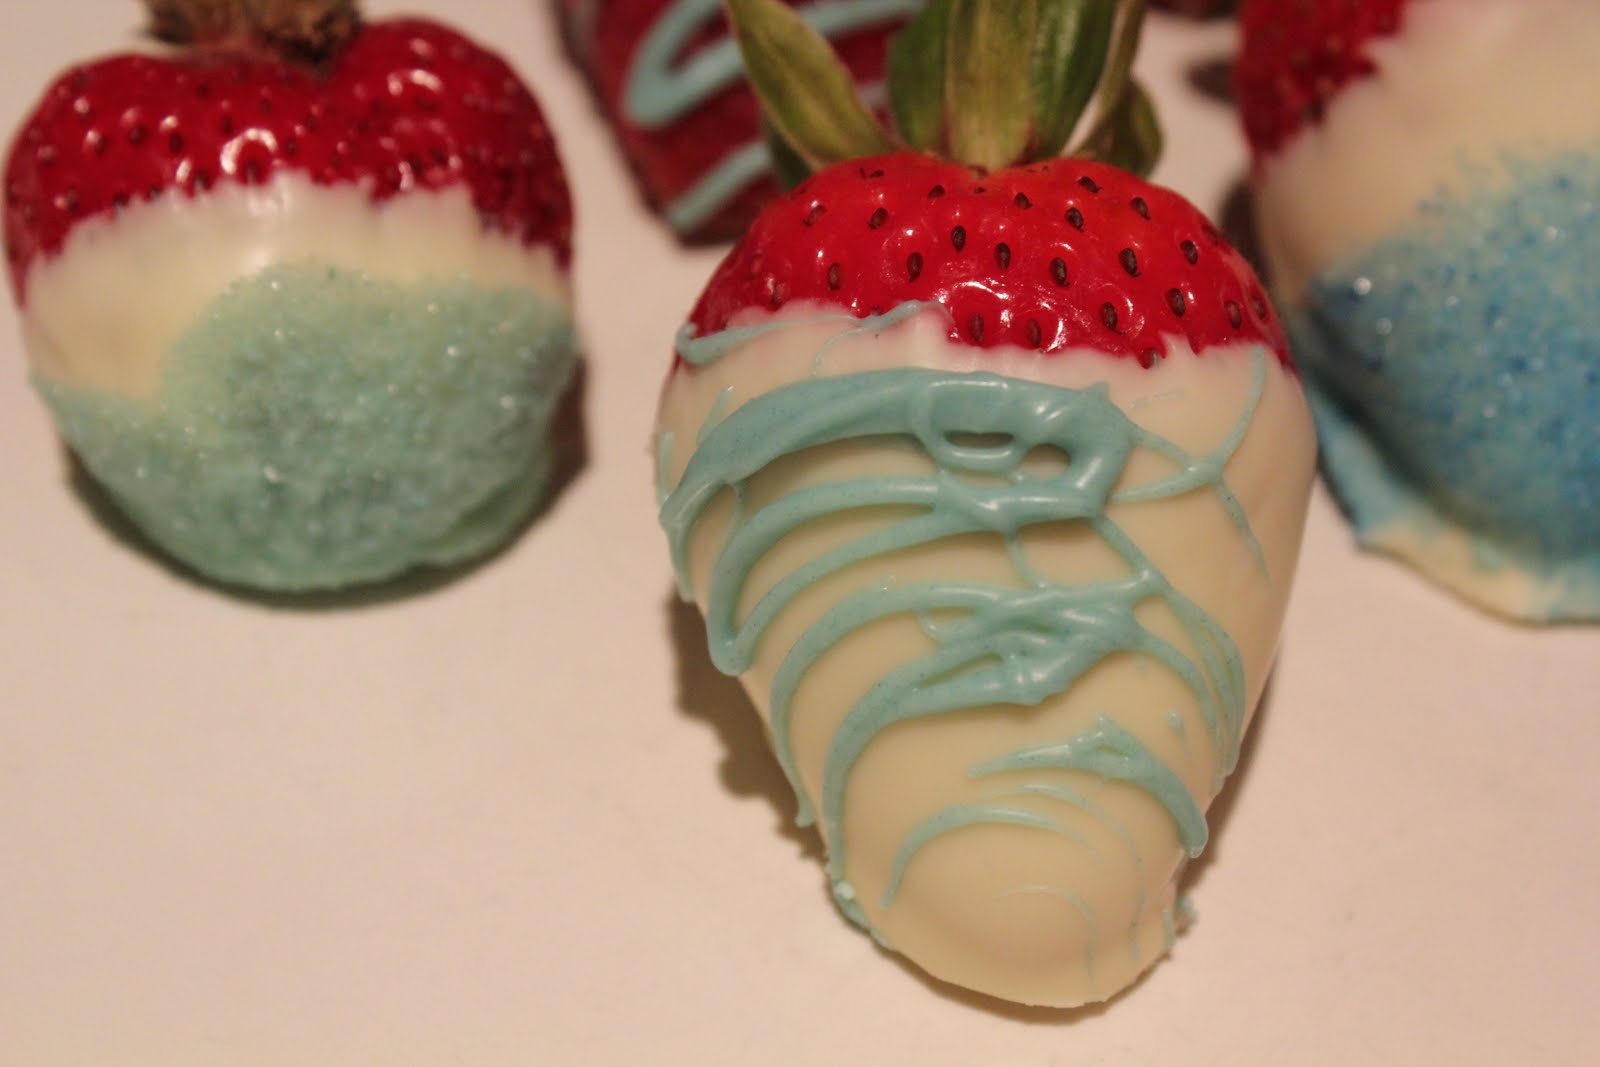
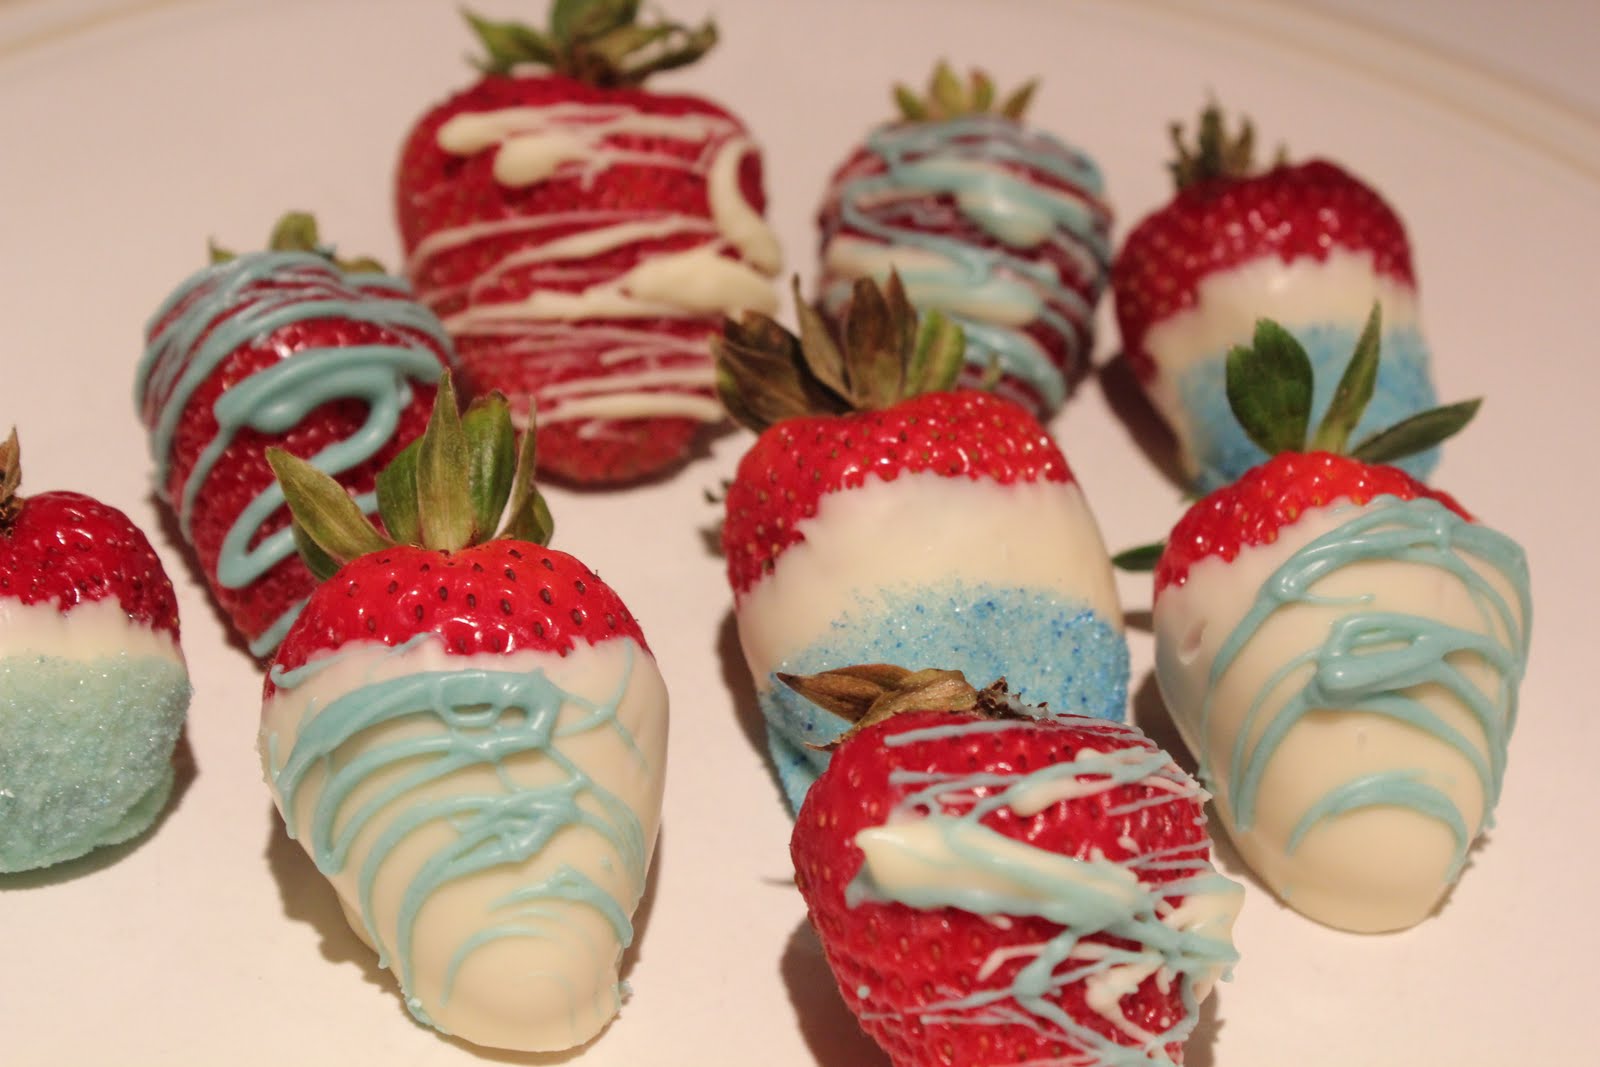
Place desired amount of white chocolate chips in a microwave-safe dish, with approximately 1 teaspoon of shortening per 1/2 cup of white chocolate chips.  Adjust shortening amounts to reach desired consistency of chocolate.  Microwave for 30 seconds; stir and continue to microwave in 30-second increments until it is completely melted.  Dip the bottom two-thirds of the strawberries in white chocolate, leaving the top third red.  Spoon blue colored sugar over the bottom part of the white chocolate, leaving a strip of white between the blue and red.


Instead of using colored sugar, you can dip the strawberries in white chocolate, and refrigerate until the chocolate has hardened.  Once hardened, melt white chocolate with enough shortening for it to reach a drizzling consistency; add blue food coloring.  Drizzle blue chocolate over white chocolate.  Alternatively, you can leave strawberries undipped and drizzle with blue and/or white chocolate.  Be creative and have fun!!!  Also, check your local grocery ads to see if strawberries are on sale.  I know there's a store near me that has them for 99 cents/lb this week!


Related Posts with Thumbnails