
A little over six months ago I posted about my favorite kind of burritos. You can find it here. As the filling is now too big for the tortilla, I no longer make these burritos. I now have to settle for bean and cheese. But that’s okay. Bean and cheese burritos are delicious, incredibly inexpensive, easy to make, and they are freezable!
Whenever I make a big batch of refried beans, I use a lot of it to make and freeze burritos. They are so convenient to have on hand for school lunches, lunch at home, or for giving away. Last month some friends of ours were preparing their new house to move into, packing, and preparing their old house to rent. I grabbed a few things out of my freezer so they could have some home-cooked meals during that crazy time. One thing I gave them was a bag of these frozen burritos so they could toss them in their kids’ lunches or heat and eat them when they were short on time.
If I have leftover rice in my fridge, I add it to the burritos. This makes them a source of complete protein.
The key to making these is to make lots at a time and set up an assembly line. Before I start, I put everything in order. The tortillas go by the skillet on the stove. On the counter, I line up the beans, cheese, rice, and hot sauce. I also get out a plate or cutting board on which to construct the burritos and a cooling rack for when they are done.


Not that it really matters in the grand scheme of things, but tortillas do have right and wrong sides:
 |
| The right side has golden "blister" marks. This side goes on the outside of the burrito. |
 |
| The wrong side has no "blister" marks. This is the side you put your filling on. |
The beans should be at least slightly warm so they are spoonable. I like to put the cheese in a bowl so I can get it into the burrito faster.
Bean and Cheese Burritos
Flour tortillas
Refried beans, warm enough to work with
Rice (optional)
Cheddar cheese, Monterey Jack cheese, or a mixture, shredded
Hot sauce (optional)
Heat a skillet or frying pan over medium heat (adjust heat up or down as needed). Place tortilla in skillet.

Remove to plate or cutting board when warm and pliable but before crispy. Place next tortilla on skillet to heat while filling first tortilla. Spread beans slightly below midline. Spoon a layer of rice, if using. Sprinkle with cheese and add hot sauce, if desired.

Fold sides in over filling. Roll burrito starting at bottom.


Transfer to wire rack to cool. Repeat with next tortilla. If you find that your tortillas are getting crispy before you get back to them, decrease the heat.
To freeze, make sure burritos are completely cool. Wrap each one in wax paper. Place wrapped burritos in zip-top bag to store in freezer. Cost: about $0.15 each.
 |
| I usually tear a stack of wax paper before wrapping it go faster. For clarity in the photo, I just have one sheet here. |
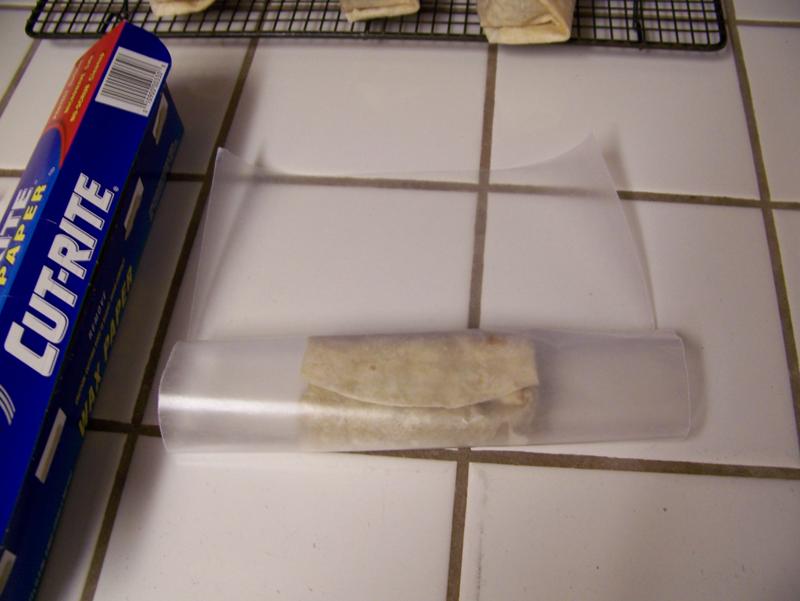 |
| Roll burrito over once. |
 |
| Fold in sides. |
 |
| Continue to roll to top. |
 |
| Store in labeled zip-top bag. |
To cook, leave burrito in wax paper and place on microwave-safe dish. Microwave times will vary, but a frozen burrito will take about 1 1/2 to 2 minutes to cook and a thawed one will take about 45 seconds to 1 minute.

4 comments:
Thanks for posting this one... it gave a lot of helpful tips... never knew there was a right & wrong side of tortillas! :) Love it! Thanks again for sharing.
Yipee! Burritos, here we come!!
Seriously, even with homeschooling and being home...I am often rushed to get lunch in...so this will be a great thing to have on hand!!!
Thank you!
Thanks for posting Sumiko. We are making these this weekend!
I'm feeling really dumb right about now! It honestly never occurred to me to make them from scratch! Thanks so much for posting!
Post a Comment